

If you have compression faucets in your kitchen, then I think you’ll all agree with me when I say:
Leaky faucets are an annoyance that you want to avoid as much as you can.
Do you know that in 2007, in the U.S 5.02 billion U.S. dollars were spent on bathroom repairs/improvements, with an average expenditure of 3.11 thousand U.S dollars?
Here I’ll show you how to repair these constantly dripping compression faucets.
Before we start, you should know what type of faucet you have. Is it one of the washer less faucets (ball, disc, or cartridge) or is it a compression washer faucet?
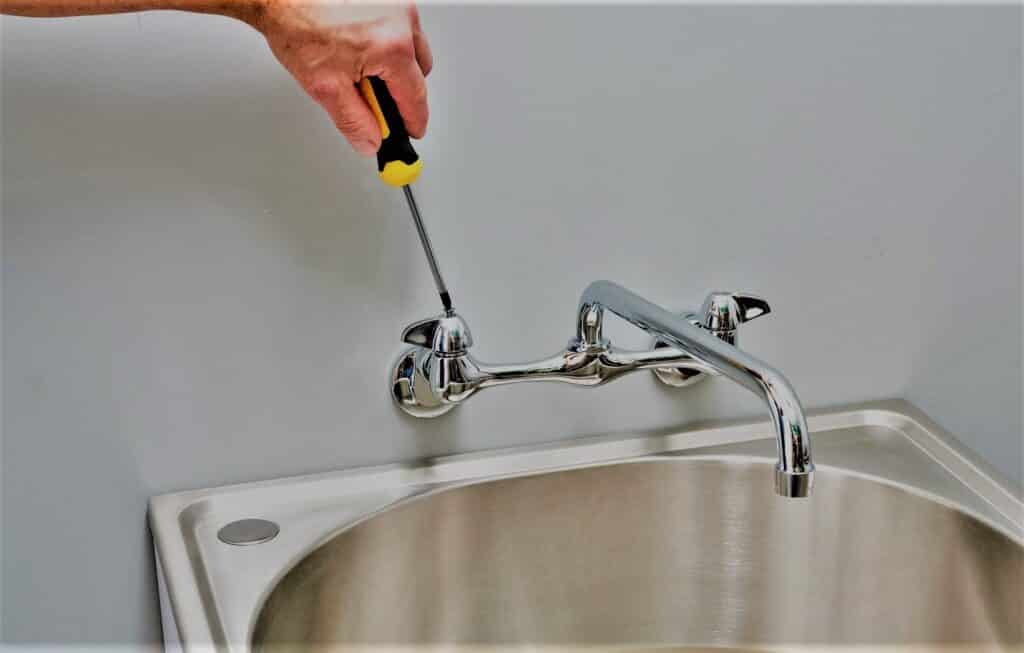
Compression Faucets
They are the oldest and cheapest faucets. They usually have two handles, but single-handled compression faucets are also in use.
To shut off the water, you can tighten its handle that results in compressing the washer. This washer can wear out with use, which results in requiring multiple repairs.
Things you need to repair a compression faucet:
- Slip joint pliers
- Small flat-head screwdriver
- Phillips screwdriver
- Utility knife
- Seat wrench (optional)
- Faucet repair kit with replacement stem washer and O-ring
- Waterproof plumber’s grease
1. Determine the side that’s leaking
Before starting, if you have a two-handle faucet, for hot and cold water, try to determine the faulty side. The temperature of the water will be hot if that side is leaking.
You should replace parts on both sides ideally because one faulty side means the other is going to leak soon.
2. Shut off the inflow
You can shut off the water by either
- turning the football-shaped handle below the sink clockwise
- or you can turn off the main water supply of the house
- or you can turn off the water meter
Cover the sink and the drain with a rag to avoid damage. Turn the faucet handle on to drain any residual water. Cover the jaws of your wrench with duct tape.
3. Unscrew the handle
A screw joins the handle with the faucet valve assembly. A cap hides the screw inside it. You have to remove the cap.
If it’s metal then:
- Use pliers to unscrew it
- Or check if you can pry it off
If it’s plastic then:
- Use a flat-head screwdriver to pry it off
After removing the cap, get to the screw. Use Philips screwdriver to unscrew it.
Then use a screwdriver covered with a rag, or a faucet handle-puller to unfasten the handle.
4.Take off Valve stem assembly cover (if present)
It is present in some faucets(Touch on Kitchen Faucet). Use pliers if necessary, to pull off the knob.
5. Detach Valve Stem assembly
A hex-nut fits valve stem assembly into the faucet body. Use an adjustable wrench or pliers to hold it tightly and unfasten it by rotating anti-clockwise.
6. Inspect the parts of the valve stem assembly
Check all the parts thoroughly.
If:
The washer is damaged: Replace it with a new one. For this:
- Pull off the old washer that is at the bottom, by unfastening the brass screw using a flat blade screwdriver.
- Clean the valve seat and grease it with plumber’s grease.
- Find the exact size, shape (beveled or flat), and type (for hot or cold water) of the new washer
- Tighten this washer by brass screw and grease it
O-rings are torn:
- Use a utility knife to cut them
- Coat the new O-rings with grease and slide them on using a flat-head screwdriver as a guide
- The leakage of the faucet is usually around its base when O-rings get damaged.
The valve seat is worn out:
- Remove the old valve seat using a special Seat wrench and replace it with a new one
- Or use a seat sleeve to properly fit in any cavities
- Or you can use a valve seat grinder, which can even it out with few clockwise turns
To check for any damage to the valve seat, insert your finger inside the faucet body.
You can also replace the entire valve stem assembly to prevent any missed faulty pieces.
7. Reassemble the faucet
Put everything back together. Valve stem assembly goes into the faucet body. Use pliers to tighten everything. Fasten the faucet handle and cap back on.
8. Turn the water supply on
Switch on the water supply. Check for any leakage from both handles.
Your compression faucet is back on track!
Conclusion
Well I won’t pull this more than it needs to. So, here you have your complete turorial for repairing compression faucets.
Thankfulness to my father who informed me abօut this webpage,
thіs blog iѕ аctually awesome.
Thanks for you feedback
I got this web page from my pal who informed me about this website and now this time I
am browsing this site and reading very informative articles at this place.
Thanks for your valuable feedback.