
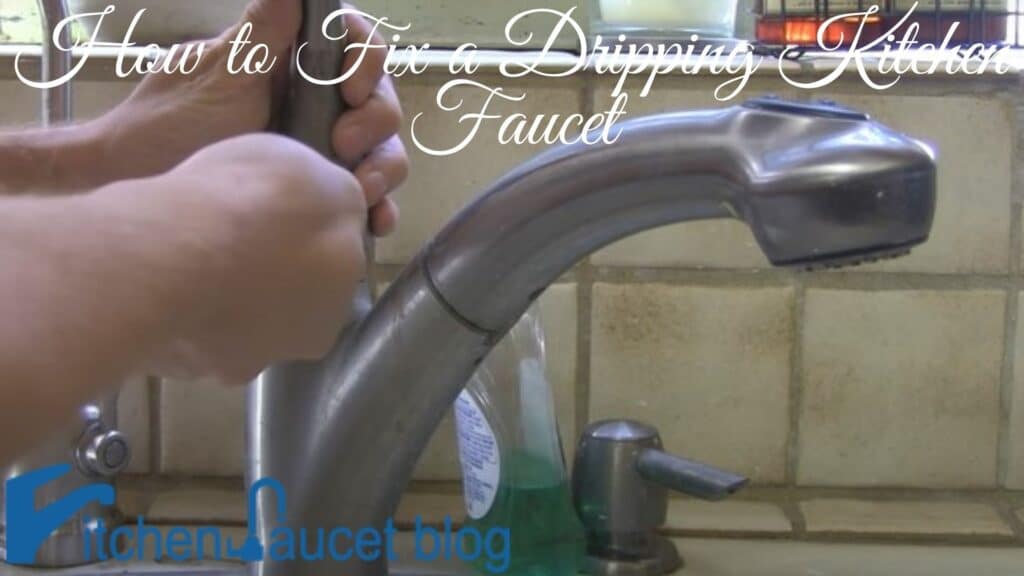
There are different types of faucets that you use in your home and kitchen and all of them are designed to provide water with a constant flow. When you’re using your faucet for a long time, you may face dripping issues or leaking issues.
Faucets get old over time and use and the fact is, faucets depend on seals and rings that keep them fit. When they get loosened or they wear out, you may face leaking issues which are pretty embarrassing.
A leaky faucet constantly wastes water, makes a mess near your sink and kitchen, besides, the dripping sound bothers you all the time. So, it’s essential to fix a dripping faucet as soon as possible. Repairing a kitchen faucet is easy and inexpensive at the same time. It’ll cost you a little time maybe.
In this article, we’re going to discuss different types of faucets, how they work, and how to fix a dripping kitchen faucet. If you’re looking for the steps, you’re at the right place. We’ll show you step by step to make everything easier for you.
What makes the faucet drip?
Any kind of loosened part or wear-out part will cause the faucet to drip. There are 4 different types of faucets normally. Those are
- Compression faucets
- Cartridge faucets
- Ceramic disk faucets
- Ball-type faucets
The mechanism of a compression faucet is a bit different. It relies on a rubber washer that seals the valve seat. This rubber washer can wear out over time and use and that can cause dripping. On the other hand, the other three types of faucets rely on a neoprene seal or an O ring that can cause dripping.
The solution to all of them is replacing the thing on which they rely. We’ll go through each type to make it easier for you to understand which type is yours and what to do.
How to fix a dripping kitchen faucet?
Before you start the procedures, you need to take a few precautions. These precautions are the same for each type. First of all, turn off the water supply valves. Faucets have two types of water supply lines installed. One is for cold water and another one is for hot water.
You can find these valves under the sink where other pipes and lines are. Turn the valve counterclockwise to shut it off. After shutting off the water supply lines, you need to drain water that’s remaining in the pipes or faucet body itself.
When the water supply lines are turned off and water is drained, you need to cover the draining area with something or with a cap. It’ll prevent any small objects from going through the sink drain.
After that, attach duct tape to the jaws of your basin wrench as they are sharp and they can hurt the finish of your kitchen faucet. keep some distilled white vinegar with you. This solution is required sometimes. Besides, don’t forget to keep a soft scouring pad with you in order to remove mineral deposits and debris that you can find after removing the faucet.
How to fix a dripping cartridge faucet
There are a few steps to fixing a cartridge faucet when it’s dripping. Most of the cartridge faucets are from the brand Moen. The steps of fixing are:
- When your water supply is turned off, remove the decorative cap on the handle. There you can find a setscrew. In most cases, that’s the hex screw. Use an Allen key to remove the screw. Now, when the screw is removed totally, tilt the handle back. After that, pull it off.
- You can find a threaded retaining clip there. That might be holding the cartridge in place. When you’re intending to remove it, you need needle nose pliers. So, remove it using the needle-nose pliers. When the threaded clip is removed, you’ll find the cartridge loosened. Pull the cartridge straight up.
- Now it’s time to cut off the old O rings. First, remove the spout. After you removed the spout, cut off the old O rings. You need a utility knife to do that. Grab your new O rings and coat them with heat-resistant plumber grease.
- Now, replace the old cartridge. You need to make sure that the length of your new cartridge and the length of your old cartridge are the same. Besides, you need to match the stem as well.
- When these steps are done perfectly, turn the water supply on. Remove the drain cover. Run a few tests to check if your faucet is still dripping or not.
How to fix a dripping compression faucet
In the case of compression faucets, the steps are a bit different. You can’t go the previous way. There are plenty of changes. In most cases, compression faucets require a new seat washer. Let’s discuss the steps for a better understanding.
- The first thing you need to do is to get rid of the handle. There are different kinds of screwdrivers that may help you while you’re dealing with the handle. Use a small slotted screwdriver. Then you can find the screw sets and other things. Detach the screw safely. After detaching the screw, pull off the handle and put it somewhere safe.
- Now, grab an adjustable wrench to loosen the stem from the faucet body. You need to use a crescent wrench as well while you’ll be removing the packing nut.
- Now, unscrew the rubber washer. You can find it at the bottom of the stem. You need to replace the seat washer. In most cases, replacing these things solves the whole dripping issue.
- Don’t forget to coat the washer. Use heat-proof non-toxic plumber grease to coat your new seat washer.
- Now, you need to replace the main culprit of all leaky handles, the O ring. First, pop the stem out. It’s in the packing nut. There you can find the O ring. The rings come up in different sizes. These sizes vary from 3/8 to 5/8 inches. Match the exact one that goes perfectly with your kitchen faucet.
- Don’t forget to coat the new o ring this time also.
- The washer is placed on a disk that’s called a retainer. A retainer is rare to find, but you can get it if you look close. find out the one that suits your faucet. if you can’t then flush and reinstall the previous one.
- Replacing the seat washer will fix everything at once. But it’s important to check if your old and original one is repairable or not. If you can repair that one, don’t buy a new one.
How to fix a dripping Ceramic disk faucet
- First of all, remove the handle. Push it back to access the screw. Now use an Allen screwdriver or a wrench to locate the screw and remove the handle.
- Now, you need to remove the escutcheon cap. To do this, you need to unscrew the disk cylinder and it has a couple of mounting screws. Now, lift up the cylinder safely.
- Now, you need to lift up the neoprene seals. You can find these seals on the cylinder. Remove those using a blunt screwdriver. You need to replace them if you find them damaged.
- The next step is to clean the cylinder openings. Use distilled white vinegar and a tissue or a scouring pad. After doing that, rinse them thoroughly.
- The next step is summing up. Replace the seals one by one and set up the faucet step by step.
- Your job is done. Now run a few tests to check if the dripping issue still there or not. For the first time while you’re turning the handle, make sure that you’re turning it slowly.
- When it’s required to replace the whole cylinder, mount it with new screws and seals. Don’t do the process with old ones. This will damage the new cylinder over time.
How to fix a dripping ball-type faucet
- For this type, finding the cause of the leak is pretty difficult as it contains a lot of different parts. All of them play different roles at the same time. To avoid these difficulties, you can buy a new replacement pack. A replacement pack contains all those parts of the faucet. You can replace those parts with the new pack.
- You need to reveal the hex head screw first. Use a pocket knife for that purpose.
- Now, loosen the screw with a hex key wrench or a suitable screwdriver.
- Now, use pliers to remove the collar and the cap.
- After that, you need to loosen the faucet cam. You can do it with special tools included in the tool package.
- Remove the springs and rubber seats by reaching into the faucet body with needle-nose pliers.
Now, repeat the whole process and reinstall everything and check out if everything is okay or not. If not, then you need to check out a few other things. You can call your plumber as well. This type of faucet fixing is a bit complicated.
Conclusion
So, this is how you can fix your dripping faucet. Whenever you feel like your kitchen faucet is dripping or you hear the sound, you must take the necessary steps as soon as possible. Otherwise, you’ll be in trouble. All these processes are easy and you don’t need expensive tools as well. If you’re an active person, you have these tools in your home.
In this article, we’ve tried to cover how to fix a dripping kitchen faucet. There are 4 types of kitchen faucets and we’ve covered all of them, how you can fix all of them. If you have any questions or queries, feel free to leave a comment here or contact us directly. For more articles like this one, visit our website.